

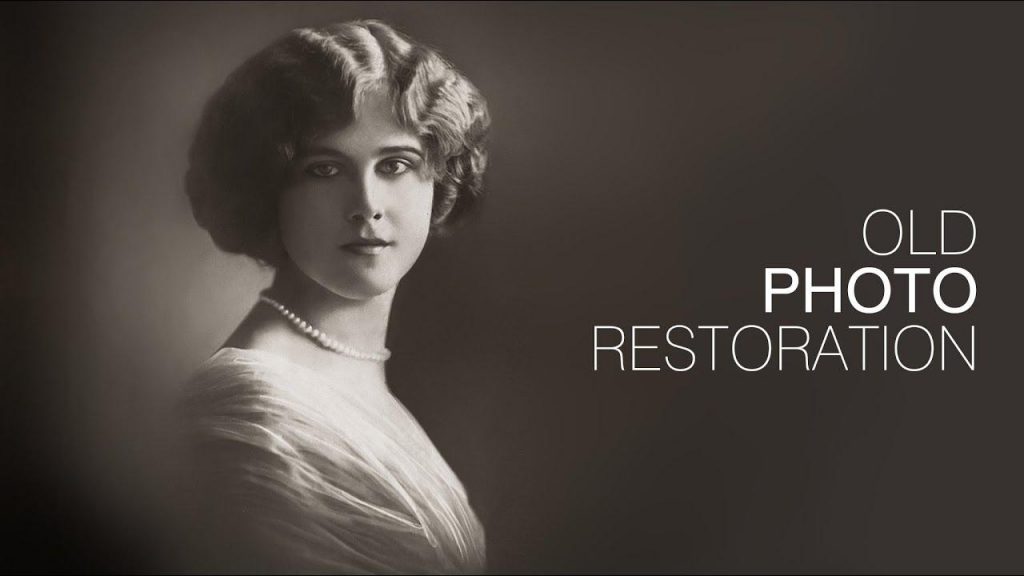
Undoubtedly, you have photos which were taken many years ago. Over the years they have become covered with dust, have faded, scratches and creases have appeared on them. Nevertheless, old photos possess some particular charm.
They help keep your memories alive and fresh, make it possible to look back on your familial past, and revive recollections, and relive the moments that have almost faded away. It’s really great that we’ve managed to digitize and restore the images captured decades ago.
Modern photo editors cannot turn back time, but what they can do is breathe new life into your faded and blurry pictures. Below are some handy tools that have been designed with both professional photographers and ordinary users in mind. Note that most of them don’t require any specific skills and a lot of investment to start helping you enhance the quality of your pictures.
#1 Photoshop
When it comes to editing photos, Adobe Photoshop arguably has no equal. Though it cannot be called a budget option, Photoshop has been helping millions of users create photography masterpieces for quite a long time. And its arsenal of tools and features keep on growing year after year. So, let’s see how Photoshop can restore your old photos to their former glory.
First things first, you should digitize the pictures that need retouching and save the resulting images in JPEG, PNG, or TIFF format. Nothing special, a normal scanner or multifunction printer can cope with this job just fine. You can even use your smartphone. In tandem with a dedicated application, your phone can quickly and effortlessly digitize your photo. (Even if your photos look fine and there is no apparent need for retouching, you still would be well-advised to make a digital copy. You know, just in case.)
Launch Photoshop and open your digital photo in it. We recommend that you also create a duplicate image. To do it, navigate to the Layer panel menu and click on ‘Duplicate Layer’ and save it. Prior to making any changes to your picture, make sure it’s properly oriented and convenient to work with.
Crop out the unwanted space around the edges of your photography to make it look more visually appealing. For this, click on the Crop icon, specify the cropping area, and crop the image. For even more convenience, rotate the photo using the corresponding option in the Edit menu.
To salvage a crooked image, select the ‘Straighten’ option from the Crop menu. Draw a horizontal or vertical line along the element in your photo and let Photoshop do the rest of the job for you.
You can make virtually any adjustment to your photo using a wide array of options offered by Photoshop. That being said, we recommend that you start with automatic corrections, especially if you’re new to photo editing. Such tools as Auto Tone, Auto Contrast, and Auto Color will come in handy when it’s necessary to adjust this or that parameter. Should you be dissatisfied with auto corrections, you can try tweaking settings manually.
You can fix imperfections like scratches, dots, stain, and creases using such tools as the Spot Healing Brush, Clone Stamp, and the Patch Tool. If you want to remove spatial noise from your image, click the ‘Filter’ tab and select the ‘Reduce Noise’ option to smooth your image.
There are tons of other advanced options and tools you can use if you opt for Photoshop.
# 2 Movavi Picverse
There are more pocket-friendly yet not less effective editing tools wherewith you can restore your old family or childhood photos. The Movavi Picverse photo editor can go a long way towards helping you repair old pictures and lend a fresh look to them. What is particularly great about using this editor is that you don’t need to possess a formidable set of professional skills to fix the damage incurred by time, mold, dust, and air.
Once you’re done with the digitizing process, you can move on to restoring your photos. Launch Picverse on your Mac or Windows device and drag and drop the required photo to the corresponding editing field. Then, you want to navigate to the ‘AI Adjust’ section and select the ‘Restore’ option. After that the restoration process should begin. The AI-powered algorithm will accurately identify the fragments that need editing and come up with workable fixes within the shortest time possible.
Should you want to add more color to your images, make sure to toggle on the ‘Colorize photo’ option prior to making automatic adjustments. You can also take advantage of manual settings.
Such handy tools as ‘Brush,’ ‘Eraser’ and ‘Magic Wand’ will help you get rid of cracks, dots, and stains. Switch between ‘Color,’ ‘Light,’ and ‘Detail’ tabs to enhance your original photo quality. Don’t forget to choose the desired folder and image format for your restored photos. Click ‘OK’ and enjoy your new masterpieces of photographic art.
There are plenty more features and options to try out! Just install the Movavi Picverse photo editor and start working your photo restoration magic. For more information, refer to the full guide at https://www.movavi.com/support/how-to/how-to-restore-old-photos.html.
#3 Fotophire
For quick photo restoration, try Fotophire editing toolkit. There are Erase, Clone, and Crop tabs at your disposal. Should you need to remove annoying scratches or creases from your photograph, hit ‘Eraser’ to select the tool that will best cope with an unwanted object.
We recommend that you pay your attention to the Selection Brush, a universal editing tool wherewith you can clear a certain area in your picture. You can easily change the size of the Brush depending on the size of the object you intend to remove. Set the margins of the area that needs editing by placing a cursor over it and hit the ‘Erase’ button. To remove the selected fragment, simply select the ‘Clear Selection’ option.
- Apart from the brush tool, you can use rectangle, lasso, and polygon to select the editing area.
To enhance the quality of new photos even more, avail yourself of the Clone tool. You can duplicate certain parts of your image and substitute the missing parts with other fragments. The given option is particularly helpful in background reconstructing.
What’s more, Fotophire boasts a wide array of color adjustment features, filters, textures, and brightness correction tools that can go a long ways towards helping you spruce up virtually any pictures.
#4 Akvis
Another budget photo editor that is worth mentioning on today’s list undoubtedly is Akvis. Akvis is also called one-click photo retouching software owing to its intuitive, user-friendly interface, ease of use, and smart algorithm that allows restoring pictures automatically.
As with other photo retouchers mentioned earlier, Akvis is well suited for removing visible defects from your images. Take any photo from your family archive that has gathered tons of dust and is covered with cracks, scan it, and run the retoucher in question across the digitized image. You’ll get the unwanted details removed in the blink of an eye without sacrificing the quality of your image.
Akvis is also an ideal tool for reconstructing the missing fragments, which is commonplace in old photos. The program will recreate the missing pieces by extending the borders of the available fragments.
The retouching process is also as easy as ABC. All you need to do is hit the ‘Run’ button and select the portion that requires restoring. And the Akvis retoucher will do the rest of the job for you. It will analyze the issues and come up with quick solutions. No cracks, no spots, no scuffs, or scratches. The photo composition can also be improved with this tool. If need be, you can get rid of unwanted objects or people in the background, erase pesky watermarks and date stamps from your pictures.
#5 Photo-Works
Photo-Works comes last on our list of the best photo retouchers, but it’s definitely no less efficient and helpful than its competitors.
Photo-Works is ideal for removing worn-out edges of your old pictures. To get rid of those edges and corners the time hasn’t spared, select ‘Crop’ from the ‘Tools’ menu. Make sure to select the required image with a rectangular, leaving the unsightly edges out. Once you’re ready, hit ‘Apply’ to do the cropping.
Just like other tools mentioned above, Photo-Works can be used for repairing old photos that have lost its original looks. Spots, cracks, and multiple folds covering your photo can be removed with the Healing Brush, whose size can be quickly adjusted to suit each photo retouching case. In order to make the borders and transitions between the edited and original parts of your picture, you may want to tweak some ‘Feather and Opacity’ settings.
Should there be missing fragments or badly damaged areas of your photo, employ the Clone Stamp. What’s more, you can totally replace the original background using the dedicated ‘Change Background’ option. Adjust contrast, enhance colors, or choose among a variety of visual effects to lend a particular charm or authentic look to your photographs.
Wrap-Up
Photo editing tools and retouchers have been there for quite a long time. Once expensive and available only to professionals, image restoration software is now more accessible, easy to use, and affordable. If you have a couple photographs that have been sitting in your dusty storage boxes or photo albums, it’s high time you breathed new life into them.
Feel free to future-proof your memory preserving strategy right now with such effective tools as Photoshop, Movavi Picverse, Akvis Retoucher, Fotophire, and Photo-Works.