


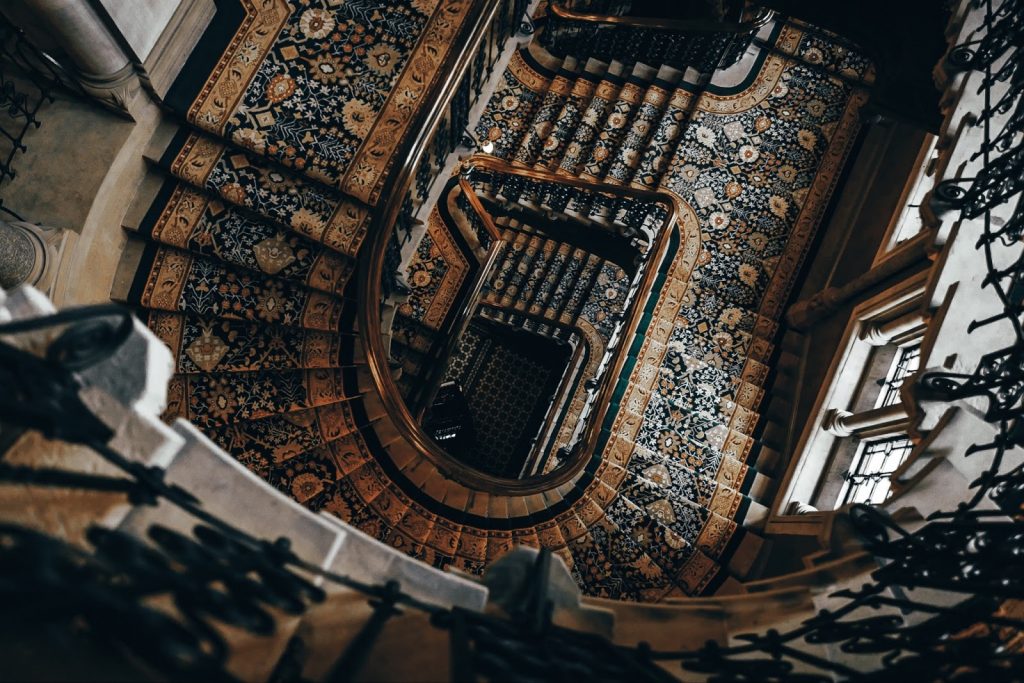
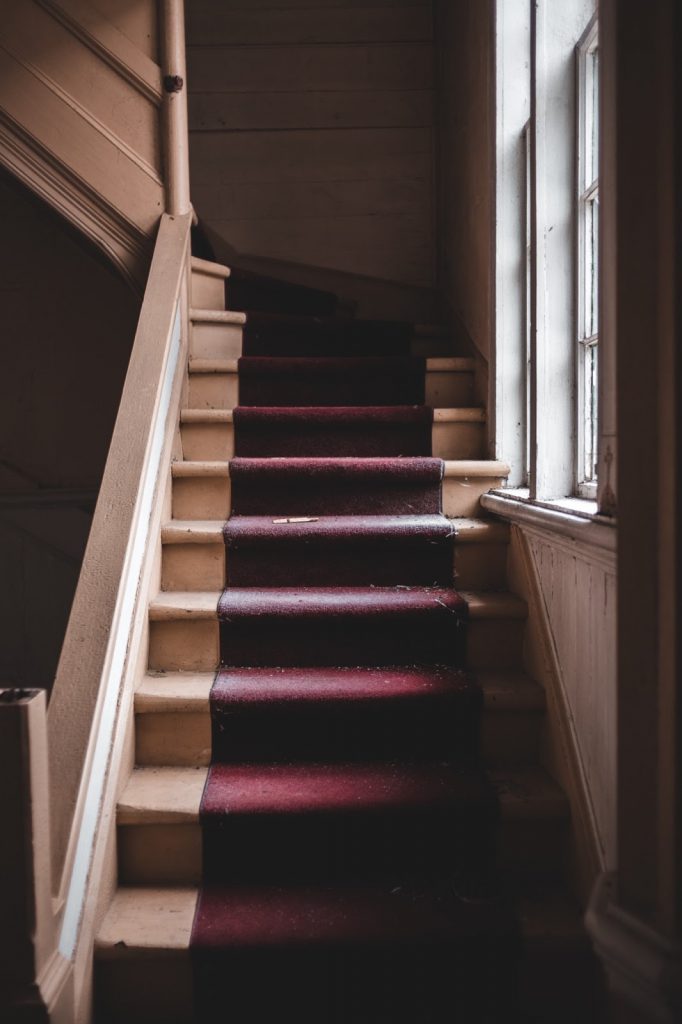
A carpeted staircase makes your home look more comfortable and its an especially pleasing feel underneath your feet. However, carpet on stairs tends to look tired faster than in any other area of your home.
That’s simply due to the fact of how frequent the stairs are used. The more often a carpeted area is used, the sooner it loses its fluff. Thus, you’d have to replace carpets in your staircase more regularly than in your living room. To replace it, you obviously have to take it off first. Should you find yourself in trouble during carpet removal on your stairs, get in touch with an expert and ask for a quote.
Removing The Carpet on Your Stairs
The hardest part about replacing carpets on your staircase is definitely the carpet removal. Make sure you’ve got some tools at hand since your hands alone won’t do the job.
You’ll need:
- Pry bar
- Hammer
- Utility knife
- Pliers
- Scraper
- Heavy-duty gloves
- Safety glasses
- Knee pads
- Dust mask
Step 1: Put on your googles
Once you put the google on, you already may as well put on the dust mask. Underneath the carpet, a lot of dust can gather. It might be sensible to thoroughly hoover the stairs before carpet removal. It won’t be able to remove the dust underneath the old carpet, but greatly reduce the amount of dust that comes up.
Step 2: Start at the stair at the top
It might be tempting to just start ripping off the carpet from your stairs, but with some organization, it’ll be a little easier. Keep in mind it’s not an easy job at all, since carpet is a rather thick material.
It’s bulky and requires a lot of strength to remove. Should the be carpet on the floor at the top stair, carefully cut the carpet at the nose? Yes, your carpet at the top has a so-called nose, though it’s a tip extending over the riser. Cut the carpet on the stairs into smaller pieces at the risers. Take the pry bar to pull of an edge until you can use the pliers. Repeat this step with each riser.
Step 3: Take care of the treads
You can continue with carpet removal on the treads just like on the risers. Should you have a knee-kick tool at hand to release the tension of the carpet, it will be removed a lot quicker. Though you can certainly do it just by pulling up a corner using your pry bar, then the pliers to pull until you can use your hands.
Step 4: Remove padding and tack strips
Carpet removal isn’t done with just removing the carpet. The padding underneath as well as the tack strips have to go, too. To remove the carpet you can most likely just pull it off with your gathered strength.
If it’s glued down, you’ll need to take advantage of the scraper and invest some patience. Underneath the padding, you can find the tack strips. Carefully place the pry bar and loosen it by tapping your hammer on the pry bar. As soon as those are gone, remove any remaining staples with your pliers.
Step 5: Schedule a collection for the remains
Your carpet needs to be disposed of according to code. Roll the old carpet up into bundles or put it into a heavy-duty bag. Schedule a collection of the waste with a carpet removal service and you’ll be back at the project right away.
Installing The New Carpet
After carpet removal, you should make sure your treads are intact. Now is the time for repairs if you found signs of mold, infestation, or rotten wood. For this step, you’ll also need some supplies:
- New carpet and padding (obviously)
- Tackless strips
- Tape measure
- Utility knife
- Scratch awl
Step 1: Measure your stairs
You’ll need to cut your new carpet as well as the padding to size to fit onto each stair. Therefore, take the tape measure and measure your stairs. Cut the carpet according to your measurements, but give in an inch extra, just in case. You can still cut more perfectly once the carpet is in place.
Step 2: Install the tackless strips
Your tackless strips need to be put at the end of each stair and the beginning of the next one, i.e. at the riser and at the tread. Leave some space in between the strips to tuck the carpet into that space.
Step 3: Install the padding
Using your hammer stapler, attach the padding to the stairs, Staple it across the length of your stairs, but make sure, not to staple along the tack strips. Remove any excess padding before you staple it to the stairs. Attach it flat to take on the shape of each stair. Use some additional staples to keep it in place.
Step 4: Magic moment for the new carpet
Place the cut-out carpet pieces onto each stair. With using the scratch awl, push the carpet against the new tack strips for clean carpet lines. Staple the new carpet onto the riser and the tread, while you don’t staple it to the tack strips again either. At best, the staples create a line and are about an inch apart from each other.
Too many staples will make your staircase look ugly. Too few staples will not keep it in place. Distancing staples with an inch will be perfect. Stretch the carpet from the middle of the step outwards to its brim. It should gently curve around the step. Push it into the tack strips and use your hammer to tighten the fit.
Parting Words On a Staircase Carpet Removal
And you’re done! Removing and installing a new carpet on stairs sound extremely easy. It’s a rather straightforward process. However, most people have to realize it’s too tough a job to finish it themselves when they just started. Fortunately, a professional carpet removal service is always only one call away. You’ll save yourself a lot of time and effort while you can hunker down to installing the new one.