

A pane in your greenhouse shed, garage or another type of outbuilding has shattered. It’s true that glass breaks, warps, get damaged, and is not as durable as modern acrylic or polycarbonate options. It might also become less transparent with time, which means it no longer fulfils the purpose for which it was created.
You don’t want to cave and buy a new greenhouse or shed right away. These days, when life is all about recycling, replacing, and repurposing rather than throwing away, you need fresh windows.
Fortunately, replacing a cracked or bent greenhouse or shed window with acrylic or polycarbonate is quite simple. Both materials are also a lot superior in many ways to glass.
Acrylic & Polycarbonate vs Glass
Acrylic and polycarbonate have more than 30 times the impact resistance of glass, with acrylic having 10-24 times the impact resistance of glass. They are both safer than glass and provide better UV protection. This makes it perfect for greenhouse plastic windows over the glass. But there’s more to acrylic and polycarbonate.
Acrylic is more scratch-resistant than polycarbonate, but it is also more difficult to polish out scratches in. Although acrylic and polycarbonate may both be scratched, it’s easier to smooth out scratches in acrylic than in polycarbonate. Acrylic is a little clearer than polycarbonate, somewhat more transparent. Acrylic is simpler to cut, whereas polycarbonate is frequently the best choice if you need to drill.
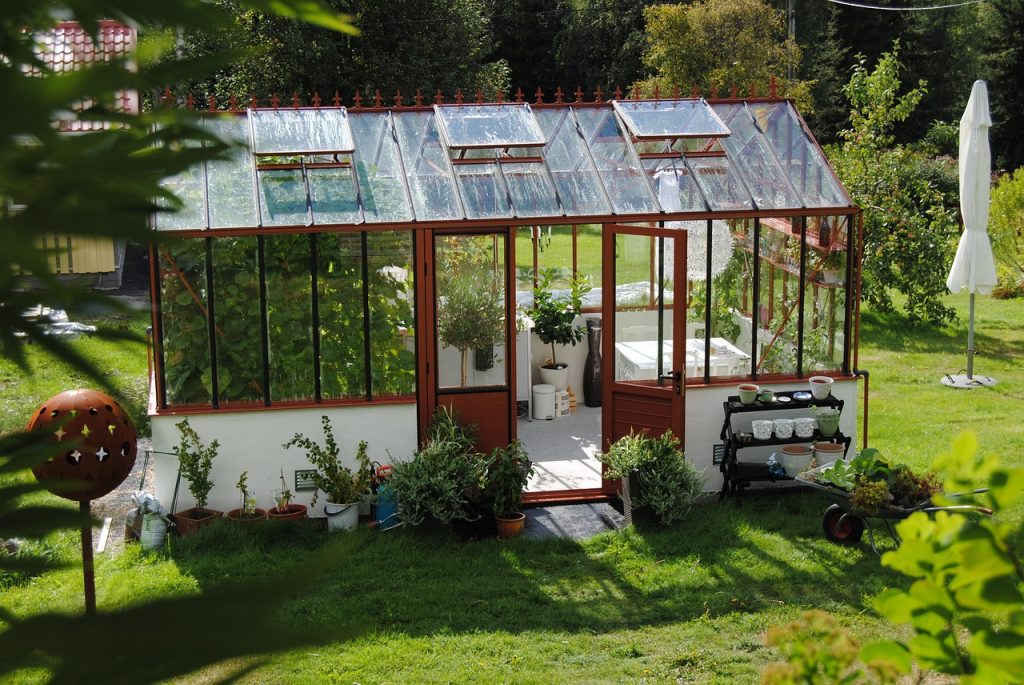
Replacing Your Greenhouse Windows
If you don’t feel comfortable doing it on your own, hire a professional. Most individuals can, however, do an excellent job of replacing a windowpane in a greenhouse or shed without any prior experience. All you need is common sense and a modest amount of DIY expertise. Here’s how to go about it.
- Make sure you get the right size by measuring the window frame’s dimensions. Then bring or mail your measurements to us, and we’ll cut the polycarbonate or acrylic sheet to suit them for you.
- Gather all of the supplies you’ll need: a putty knife or an old butter knife, heavy-duty gloves, tape measure, razor blade, glazing points (if available), window putty or adhesive silicone sealant, and your acrylic or polycarbonate replacement pane.
- It’s prudent to wear goggles just in case, and you should cover the floor beneath your workstation with newspaper.
- Remove the broken glass and sweep up the shards – that’s why you’ll need thick work gloves. Take caution if there is any old glass caught in the frame; carefully extract the largest shards first. If it’s welded in place, you can usually remove a pane by gaffer-taping over the outside of it, making sure all shards are secured, then using a hammer to gently loosen the pane. At this point, goggles and gloves are required.
- Using a putty knife or butter, carefully remove the old putty from the surface. You may shave off any unsightly remnants using a razor blade or craft scalpel.
- Remove the old glazing points and check to see if you have a smooth, uniform, and clean surface on which to install the new pane; otherwise, the structural integrity of the glass will be jeopardized.
- Apply putty or adhesive silicone sealant uniformly around the frame’s edge to create a consistent appearance.
- Using glazing points to keep it in place, press the new pane firmly into the putty or sealant. – 2 -3 glazing points on each side of the frame is ideal; more if the pane is a big one.
- Apply the last layer of putty or sealant evenly over the entire frame and give the outer edge a tidy 45-degree angle, using your knife blade’s face. This protects the junction and frame from condensation and rain.
- When the putty or sealant has dried, use a damp cloth to wipe away any residue.