

Microsoft Ink is the pen and touch input system built into Windows 10 and Windows 11 that turns handwriting into typed text, lets you draw directly inside apps, and adds pen-based shortcuts across the operating system. The official hub for compatible pens and devices is https://www.microsoft.com/ink. It works with any Windows PC that has a touchscreen and an active pen — including the Surface line and pen-enabled laptops from Dell, HP, Lenovo, and Asus — and it’s turned on by default, so most of the setup work is really about configuring it well rather than switching it on.
This guide walks through what Microsoft Ink actually does, how to set up a pen correctly the first time, the features worth knowing beyond the defaults, which third-party apps make the most of it, and how it compares to Apple Pencil and Android stylus support.
What Microsoft Ink (https //www.microsoft.com /ink) Actually Does
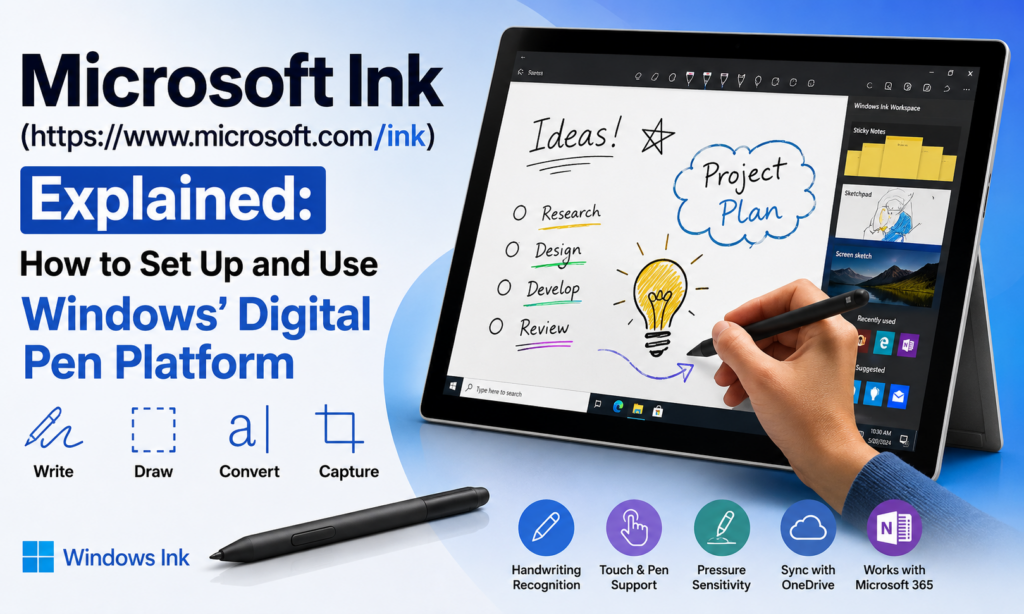
“Microsoft Ink” isn’t a single app — it’s the umbrella name for a set of Windows components that handle pen and touch input system-wide. That includes handwriting recognition, the floating Ink Toolbar that appears in drawing-capable apps, palm rejection, and the Windows Ink Workspace hub that houses Sticky Notes, Sketchpad, and Screen Sketch. Compatible pens and devices are listed at https://www.microsoft.com/ink.
Because it’s built into the OS rather than a single program, Ink works the same way whether you’re in Word, marking up a PDF in Edge, or writing a quick note in the Start menu search box. That consistency is the main thing that separates it from a typical drawing app’s stylus support: the pen behaves the same everywhere, not just in the one app that was built for it.
Setting Up Your Pen: A Practical Walkthrough
Most of the friction with digital pens on Windows comes from skipping calibration and pressure setup, not from missing hardware support. Here’s the order that avoids the common issues:
- Confirm your screen supports active pen input. Not every touchscreen does — check your device’s specs page, or go to Settings > Bluetooth & devices > Pen & Windows Ink. If that menu is missing, your hardware doesn’t support Windows Ink.
- Pair a Bluetooth pen. Bluetooth-enabled pens (like the Surface Slim Pen) need pairing through Settings > Bluetooth & devices > Add device before shortcut buttons and battery indicators will work. Pens without Bluetooth (most third-party styluses) work immediately without pairing.
- Calibrate before you do anything else. Settings > Bluetooth & devices > Pen & Windows Ink > “Calibrate your screen for pen or touch input.” Skipping this is the single biggest cause of the cursor landing slightly off from where the pen tip touches.
- Set your pen pressure curve. In the same settings pane, adjust how much pressure it takes to get a thin versus thick line. Out of the box, Windows assumes moderate pressure, which feels too light for people who write with a firm grip and too heavy for light-handed writers.
- Pin the Pen menu to your taskbar. Right-click the taskbar, enable “Show Pen Menu button” if it isn’t already visible, then use it to launch Sticky Notes, take a screen sketch, or open your default inking app in one click.
If your pen still feels laggy or inaccurate after calibration, update the pen driver separately from Windows Update — Surface pens in particular get firmware updates through the Surface app rather than the general Windows Update channel.
Features Worth Actually Using
Handwriting-to-text conversion
Any standard text field in Windows accepts handwriting directly — write in a search box, address bar, or form field and it converts to typed text as you go. Word takes this further with the Ink Editor: circle a word to select it, scribble it out to delete it, or draw a caret and write above the line to insert new text, all without touching the keyboard.
The Ink Toolbar
This is the floating panel that shows up in apps like Word, PowerPoint, OneNote, and Whiteboard. The parts worth knowing: the on-screen ruler (drag it to any angle and your pen snaps to a straight line along its edge), the protractor for angles, and the Lasso tool, which selects handwritten or drawn content as one movable object — useful for rearranging a diagram without redrawing it.
Palm rejection
Windows Ink distinguishes pen, finger, and resting palm automatically, so you can write with your hand on the screen the way you would on paper. This is a driver-level feature, not something you toggle per app, though a handful of older third-party apps still get it wrong and need palm rejection set manually in their own settings.
Windows Ink Workspace
The hub behind the Pen menu. Sticky Notes sync across devices through your Microsoft account and can extract dates and phone numbers automatically. Screen Sketch grabs your whole screen or a selected region and opens it for annotation immediately — faster than a regular screenshot-then-open-in-editor workflow when you need to mark something up quickly.
Apps That Make the Most of It
Windows Ink works everywhere, but a handful of apps are built around it specifically:
- OneNote — the default choice for handwritten notes. Search finds text inside your handwriting, and the Lasso-select-then-“Ink to Text” flow converts a whole page in seconds.
- Nebo — stronger handwriting recognition than OneNote for math notation, diagrams, and mixed formatting; a common pick for STEM note-taking.
- Microsoft Word, Excel, and PowerPoint — the Draw tab in each adds ink annotation directly into documents, useful for markup during review cycles.
- Adobe Acrobat Reader — signs and annotates PDFs with a pen instead of printing, signing, and rescanning.
- Clip Studio Paint and Concepts — the two most common choices for illustration and comic work, both built around pressure sensitivity and large canvases rather than note-taking.
Microsoft Ink vs. Apple Pencil vs. Android Stylus Support
The comparison people usually want isn’t “which pen is more precise” — modern pens across all three platforms are close enough in latency and pressure levels that most users won’t notice a difference. The real difference is where the pen works.
| Microsoft Ink (Windows) | Apple Pencil (iPadOS) | Android (S Pen / styluses) | |
|---|---|---|---|
| System-wide input | Yes — works in any text field, not just pen-optimized apps | Limited — works fully in supported apps, partial elsewhere | Varies by app; S Pen has broadest OS-level support on Samsung |
| Handwriting-to-text | Built into every text field | Scribble converts in supported fields only | Samsung Notes and select apps only |
| Best for | Mixed productivity — documents, spreadsheets, PDFs, notes | Illustration and creative apps | Notes and quick sketches on Samsung devices |
| Hardware lock-in | Works with many vendors’ pens, not just Microsoft’s | Apple Pencil only, iPad only | Usually tied to a specific manufacturer’s stylus |
If your work is mostly document-based — marking up spreadsheets, annotating PDFs, taking notes that need to be searchable later — Windows Ink’s system-wide integration is the practical advantage. If the work is primarily illustration, the iPad and Apple Pencil ecosystem has more purpose-built creative apps.
Common Problems and Fixes
- Cursor offset from pen tip: re-run calibration in Settings > Bluetooth & devices > Pen & Windows Ink. This drifts after screen resolution or scaling changes.
- Pen not detected at all: check battery (Bluetooth pens), reseat the AAAA or built-in battery, and confirm the device shows under Bluetooth & devices. On desktop monitors, confirm the specific model supports active pen — most external touchscreens don’t.
- Handwriting recognition guessing wrong words often: this improves over time as Windows adapts to your handwriting, but you can speed it up in Settings > Time & Language > Typing > Pen handwriting personalization.
- Ink Toolbar not appearing: it only shows in apps that support it. Confirm you’re in a compatible app (Word, OneNote, Whiteboard, Edge with web note) rather than a plain text editor.
- Palm marks showing up in older third-party apps: check that app’s own settings for a palm rejection toggle — a few apps built before Windows 10 don’t inherit the OS-level setting automatically.
Frequently Asked Questions
Where can I find official Microsoft Ink devices and pens?
At https://www.microsoft.com/ink, which lists Microsoft’s own pens (like the Surface Slim Pen) alongside compatible partner devices.
Does Microsoft Ink work without a Microsoft-branded pen?
Yes. Any Windows Ink-certified stylus from Dell, HP, Lenovo, or other third parties works the same way — the software doesn’t require Surface hardware.
Can I use Windows Ink with just my finger?
Yes, in any app that supports it, though precision is lower than with a pen — fine for navigation and rough sketches, less so for detailed handwriting.
Is Windows Ink different between Windows 10 and Windows 11?
The core features are the same. Windows 11 adds refined menus and, on supported hardware, haptic feedback when the pen touches the screen.
How do I turn handwritten notes into typed text?
Fastest path is OneNote: lasso-select the handwriting, right-click, and choose “Ink to Text.” In any standard text field, just write directly and it converts in real time.
Do I need an internet connection for handwriting recognition?
No — core recognition runs locally on the device. An internet connection is only needed for cloud sync features like Sticky Notes syncing across devices.